Materialize your Application
In our last blog we’ve shown you how you can use different views on iOS, Android and Desktop. Now we’ll have a closer look at how to style the app for Android.
The app will be available on github when this blog series is complete.
The first thing we’ll do, is make the app behave a bit more like a native app and less like a web page, so in index_android.html we’ll add this to the head section:
<head>
    <!-- code omitted -->
    <meta name="viewport" content="width=device-width,initial-scale=1,maximum-scale=1,user-scalable=no"/>
    <style type="text/css">
        html {
            -webkit-user-select: none;
        }
    </style>
</head>
This tells the webview that the page is optimized for mobile, prevents strange scroll behavior, and disallows text selection. Next we’ll use a css framework to make it look more native. Materialize is a project that allows you to style your application according to the Material design principles introduced by Google. This does exactly what we want.
Download either the standard version of the project, or the Sass based version. The Sass version gives you a bit more control and you can disable some components if you don’t need them, but you’ll nedd to setup scss compilation.
I used the sass version to add some additional styles for registering the Material Icons, since I wanted to bundle them with the app. I also added JQuery, since it’s faster if you bundle it with the app. This way the app will also work offline. My HTML looks like this:
<!DOCTYPE html>
<html>
    <head>
        <link type="text/css" rel="stylesheet" href="css/materialize.css"  media="screen,projection"/>
        <meta name="viewport" content="width=device-width,initial-scale=1,maximum-scale=1,user-scalable=no"/>
        <style type="text/css">
            html {
                -webkit-user-select: none;
            }
        </style>
    </head>
    <body>
        <!-- content will go here -->
        <!--Import jQuery before materialize.js-->
        <script type="text/javascript" src="js/jquery-2.1.1.min.js"></script>
        <script type="text/javascript" src="js/materialize.min.js"></script>
    </body>
</html>
Now we can use the style classes. I’ll add some random examples from the tutorial. Let’s start with a navbar:
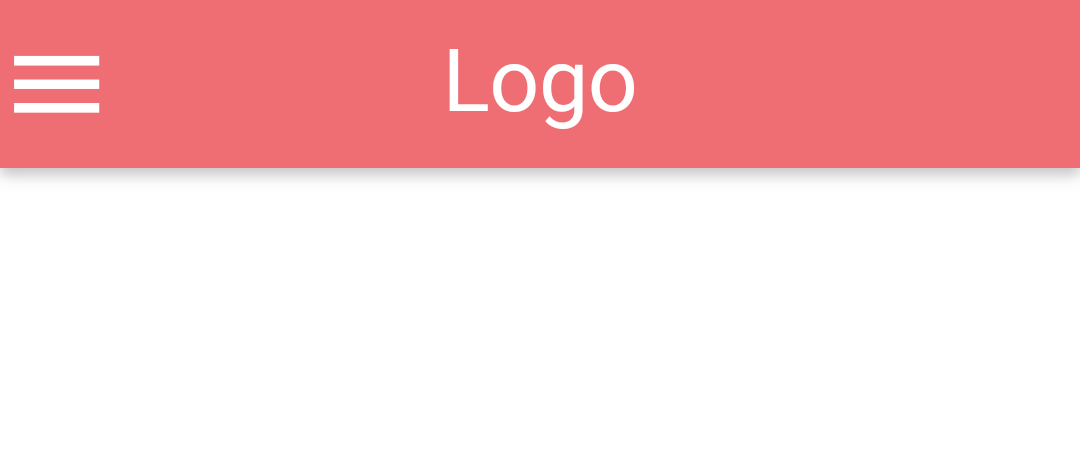
 <div class="navbar-fixed">
    <nav>
        <div class="nav-wrapper">
            <a href="#!" class="brand-logo">Logo</a>
            <a href="#" data-activates="mobile-demo" class="button-collapse"><i class="material-icons">menu</i></a>
            <ul class="right hide-on-med-and-down">
                <li><a href="sass.html">Sass</a></li>
                <li><a href="badges.html">Components</a></li>
                <li><a href="collapsible.html">Javascript</a></li>
                <li><a href="mobile.html">Mobile</a></li>
            </ul>
            <ul class="side-nav" id="mobile-demo">
                <li><a href="sass.html">Sass</a></li>
                <li><a href="badges.html">Components</a></li>
                <li><a href="collapsible.html">Javascript</a></li>
                <li><a href="mobile.html">Mobile</a></li>
            </ul>
        </div>
    </nav>
</div>
The NavBar will be collapsed on smaller devices and expanded on larger ones. If collapsed, it will slide out a sidebar.
Let’s add a list:
        <ul class="collection">
            <li class="collection-item avatar">
                <i class="material-icons circle">folder</i>
                <span class="title">Title</span>
                <p>First Line <br>
                    Second Line
                </p>
                <a href="#!" class="secondary-content"><i class="material-icons">grade</i></a>
            </li>
            <li class="collection-item avatar">
                <i class="material-icons circle green">insert_chart</i>
                <span class="title">Title</span>
                <p>First Line <br>
                    Second Line
                </p>
                <a href="#!" class="secondary-content"><i class="material-icons">grade</i></a>
            </li>
            <li class="collection-item avatar">
                <i class="material-icons circle red">play_arrow</i>
                <span class="title">Title</span>
                <p>First Line <br>
                    Second Line
                </p>
                <a href="#!" class="secondary-content"><i class="material-icons">grade</i></a>
            </li>
        </ul>
I’ve added some more items in order to test if the navbar will stay fixed:
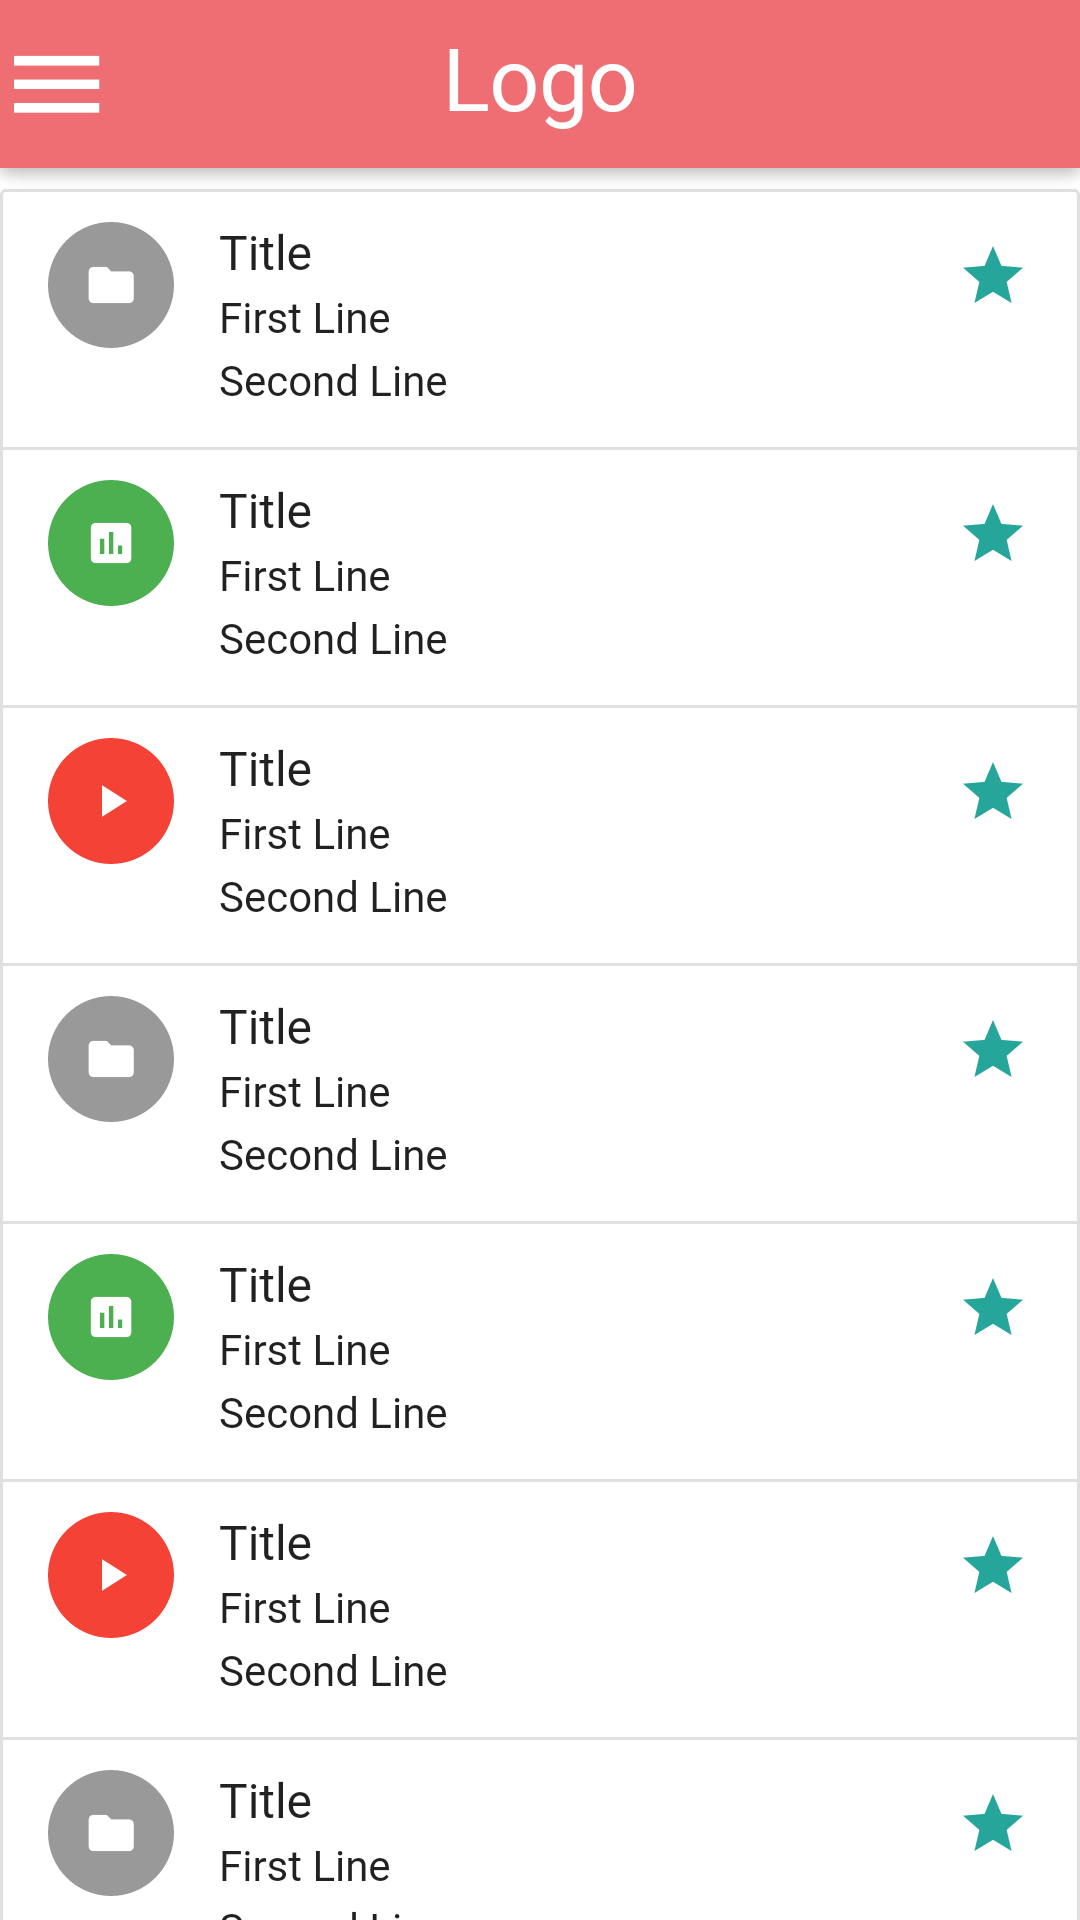
Materialize has all the components and color schemes you need to create a nice native looking app for Android. In the next parts of this blog, we’ll connect the list to a real viewmodel. But first we’ll have a look at iOS.