Alternative Views
I know we’ve mentioned that a lot :-), but DukeScript really has a clean separation of view and logic. This is not only helpful for the collaboration of designers and developers, it’s also really helpful if you want to provide platform specific views.
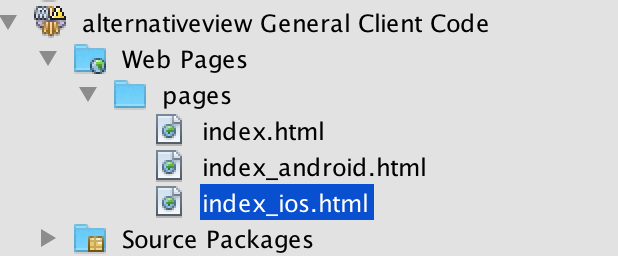
Here are some little tricks, how you can provide separate views for iOS and Android. Let’s assume your designers have created three different files for you: index.html for the desktop app, index_android.html for Android, and index_ios.html for iOS. All of them link to different CSS files and resources.
I’ve created a demo project from the Maven Archetype to simulate this. For now I’ve simply copied and renamed index.html and changed the header message in the files ( We’ll have a closer look hwo to make your apps look more native in a separate article).
When you create a new application, you get separate projects for the individual platforms. These modules contain platform specific configuration files and tasks for running, debugging and deploying to the specific platform. In Android projects there’s for example “src/main/AndroidManifest.xml”. If you open this file it shows you what html page is used as a view:
<?xml version="1.0" encoding="utf-8"?>
<manifest xmlns:android="http://schemas.android.com/apk/res/android"
    package="com.dukescript.demo.alternativeview"
    android:versionCode="1"
    android:versionName="1.0-SNAPSHOT" >

    <uses-sdk
        android:minSdkVersion="8"
        android:targetSdkVersion="16" />

    <application
        android:allowBackup="true"
        android:icon="@drawable/ic_launcher"
        android:label="alternativeview"
        android:theme="@android:style/Theme.Black.NoTitleBar.Fullscreen">
        <activity android:name="com.dukescript.presenters.Android"
                  android:configChanges="orientation|screenSize">
            <intent-filter>
                <action android:name="android.intent.action.MAIN" />
                <category android:name="android.intent.category.LAUNCHER" />
            </intent-filter>
        </activity>

        <!-- Configuration section. Defines:
           - the HTML page to load on start
           - the class that contains the main initialization method
           - name of the initialization method in the given class
        -->
        <meta-data android:name="loadPage" android:value="file:///android_asset/pages/index.html" />
        <meta-data android:name="loadClass" android:value="com.dukescript.demo.alternativeview.AndroidMain" />
        <meta-data android:name="invoke" android:value="main" />
    </application>
    <uses-permission android:name="android.permission.INTERNET" />
</manifest>
You can customize this and point the loadPage to index_android.html:
<meta-data android:name="loadPage" android:value="file:///android_asset/pages/index_android.html" />This will launch your app with an alternative view on Android.
On iOS we can use the constructor to pass the file as an argument. Just modify the Main class in your “General Client Code” like this:
public static void main(String... args) throws Exception {
        String view = "pages/index.html";
        for (String arg : args) {
            if (arg.endsWith(".html")) {
                view = arg;
            }
        }

        BrowserBuilder.newBrowser().
                loadPage(view).
                loadClass(Main.class).
                invoke("onPageLoad", args).
                showAndWait();
        System.exit(0);
    }
Now go back to the “Client for iOS” and modify iOSMain:
final class iOSMain {
    public static void main(String... args) throws Exception {
        Main.main("pages/index_ios.html");
    }
}
That’s it, you now have three different views for the different platforms. In our next blog we’ll show you, how you can style the individual views to look more native.