Chewie we're home - Enzo for DukeScript
For a long time I’ve been admiring the great controls created by Gerrit Grunwald (@hansolo_ on twitter). So it’s time to convert them to DukeScript. It takes a bit of effort to do that and it’s probably not what the typical DukeScript developer will do very often, but I thought I should share this anyway, because it might be of interest to some to learn more about the internals of DukeScript.
EnzoJs controls are created using JavaScript which makes it slightly more difficult to bind them to a Knockout or DukeScript ViewModel. But fortunately Knockout allows us to create components, basically custom hackable DOM elements. In the first version I registered the new component via Java, but it could probably be added to EnzoJS directly to make it compatible with KnockoutJS:
import net.java.html.js.JavaScriptBody;
import net.java.html.js.JavaScriptResource;

@JavaScriptResource(value = "led-min.js")
public class LED {

 @JavaScriptBody(args = {}, body = "ko.components.register('led', {\n"
            + "    viewModel: function(params){\n"
            + "        this.on = params.on;\n"
            + "        this.id = params.id;\n"
            + "        var led = new Led({id: 'control',\n"
            + "                         parentId      : this.id(),\n"
            + "                         width         : 100,\n"
            + "                         height        : 100,\n"
            + "                         isScalable    : false,\n"
            + "                         isFrameVisible: true,\n"
            + "                         isOn          : this.on(),\n"
            + "                         color         : \"#ff0000\"\n"
            + "         });"
            + "         this.on.subscribe(function(newValue) {\n"
            + "              led.setOn(newValue);\n"
            + "         });"
            + "     },\n"
            + "     template:\n"
            + "          '<!-- -->'\n"
            + "});")
    public static native void registerLED();
}
What this code does is register a new Component named ‘led’. You have to call the static method once in order to execute the JavaScript Code and register it. After that, if Knockout encounters a ‘led’ element in the HTML it will expand it to the registered template. In our case we simply added some dummy content, because it can’t be empty, and we’ll create our led via JavaScript. We also subscribe to the ‘on’-Property of the ViewModel. Whenever the state of that property changes we update the state of the led.
That’s it. We could bind more properties like that, but for a first version this should be the most important one.
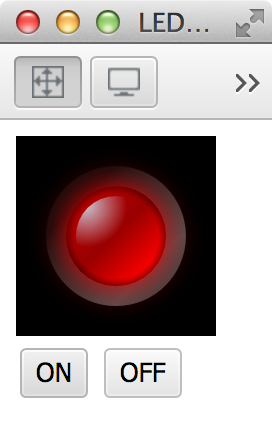
Now let’s use the led in html:
   <body>
    <led params="on: on, id: id" data-bind="attr: {id: id}"></led>
    <br>
        <button data-bind="click: turnOn">ON</button>
        <button data-bind="click: turnOff">OFF</button>
    </body>
So we’ve added the ‘led’-Element and bound ‘on’ and ‘id’ params to the respective values of the ViewModel. We also bound the id-Attribute of this Element to the id, so JavaScript will find it when creating the led. I also added two buttons to call functions on the ViewModel that will alter the state of the Properties. The last part we need now is the ViewModel itself:
import net.java.html.json.Function;
import net.java.html.json.Model;
import net.java.html.json.Property;

@Model(className = "LEDViewModel", properties = {
    @Property(name = "on", type = boolean.class),
    @Property(name = "id", type = String.class)
}, targetId = "")
public class LedViewModelDef {

    @Function
    public static void turnOn(LEDViewModel model) {
        model.setOn(true);
    }

    @Function
    public static void turnOff(LEDViewModel model) {
        model.setOn(false);
    }
}
That’s it. We can now create the ViewModel like this:
LEDViewModel ledViewModel = new LEDViewModel(true, "container");
ledViewModel.applyBindings();
Update: Not everyting required to make this work is described here (e.g. project layout), so I’ve uploaded the example on github for you to play with.
May the force be with you!